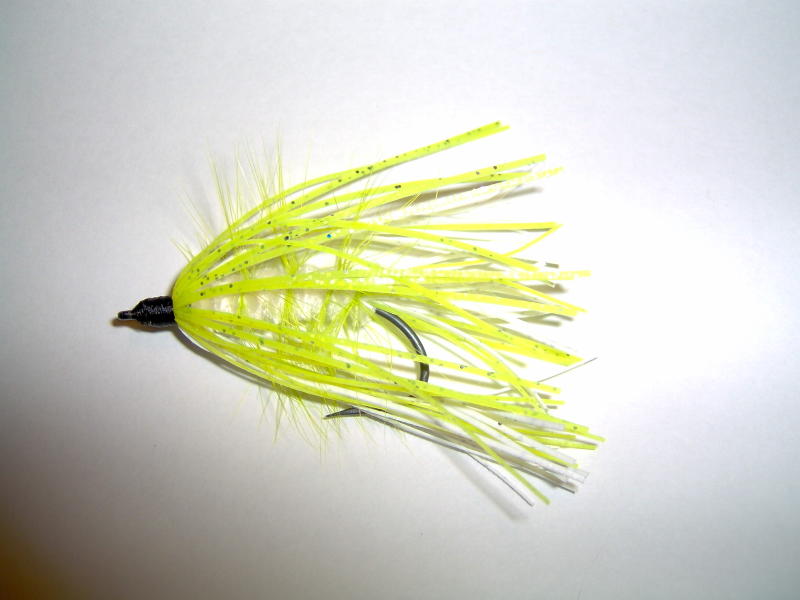
Lil' Popper

Body - compressed foam - (pre-formed)
Tail - marabou
Hackle - saddle
Paint - Testor's Paint or permanent marker
Finish - Testor's Spray Lacquer
Glue - Zap-a-Gap
Tools - Q-Tip and foam or cardboard
This popper body was purchased at my local fly shop. The body is made foam - what I call compressed foam becuase it is hard. You can still work a bodkin through it and pull legs through. Hooks come with it to - so they have that little hump to keep the body in place. I'll try to post a photo of the hook later.
It's an easy tie and an obviously effective pattern for bass and panfish. Marabou tail, some hackle too.
You can apply these tying step to any cork, balsa, and foam patterns.
Step 1 - Put some Zap-a-Gap on the hook shaft.
Step 2 - Place a slit in the body (there may already be one in store bought kits). Place the body onto the hook - push it down a bit.
Step 3 - Let the glue dry a bit. Turn it over and place Zap-a-Gap into the slit. Keep the fly upside down and let the glue dry.
Step 4 - Paint the body. I dip my Q-Tip into the paint and dab the body. I usually let one coat dry and then apply another. You can color with permanent markers too - depending on the foam type. You may need to stick the popper in a foam block or cardboard to let it dry - dependant on how many you do at once. After the paint dries, I cut the Q-Tip in half and dot the body with a different color paint. After it dries, I spray the body down with lacquer. *Don't spray lacquer if you color with markers.
Step 5 - Tie in the marabou.
Step 6 - Tie in the hackle and palmer it forward. Tie in the hackle and half hitch a couple of times. You can apply glue if necessary.
Email me if you have any questions. I don't provide the clearest of steps but hopefully, through this blog, I have challenged myself to provide pictures for steps and to give clear direction.


0 Comments:
Post a Comment
<< Home